From Bare Concrete to Beautiful Floor

Our proven process has been refined over 25+ years and 1,000+ floors. Each step is critical to a long-lasting, professional result.
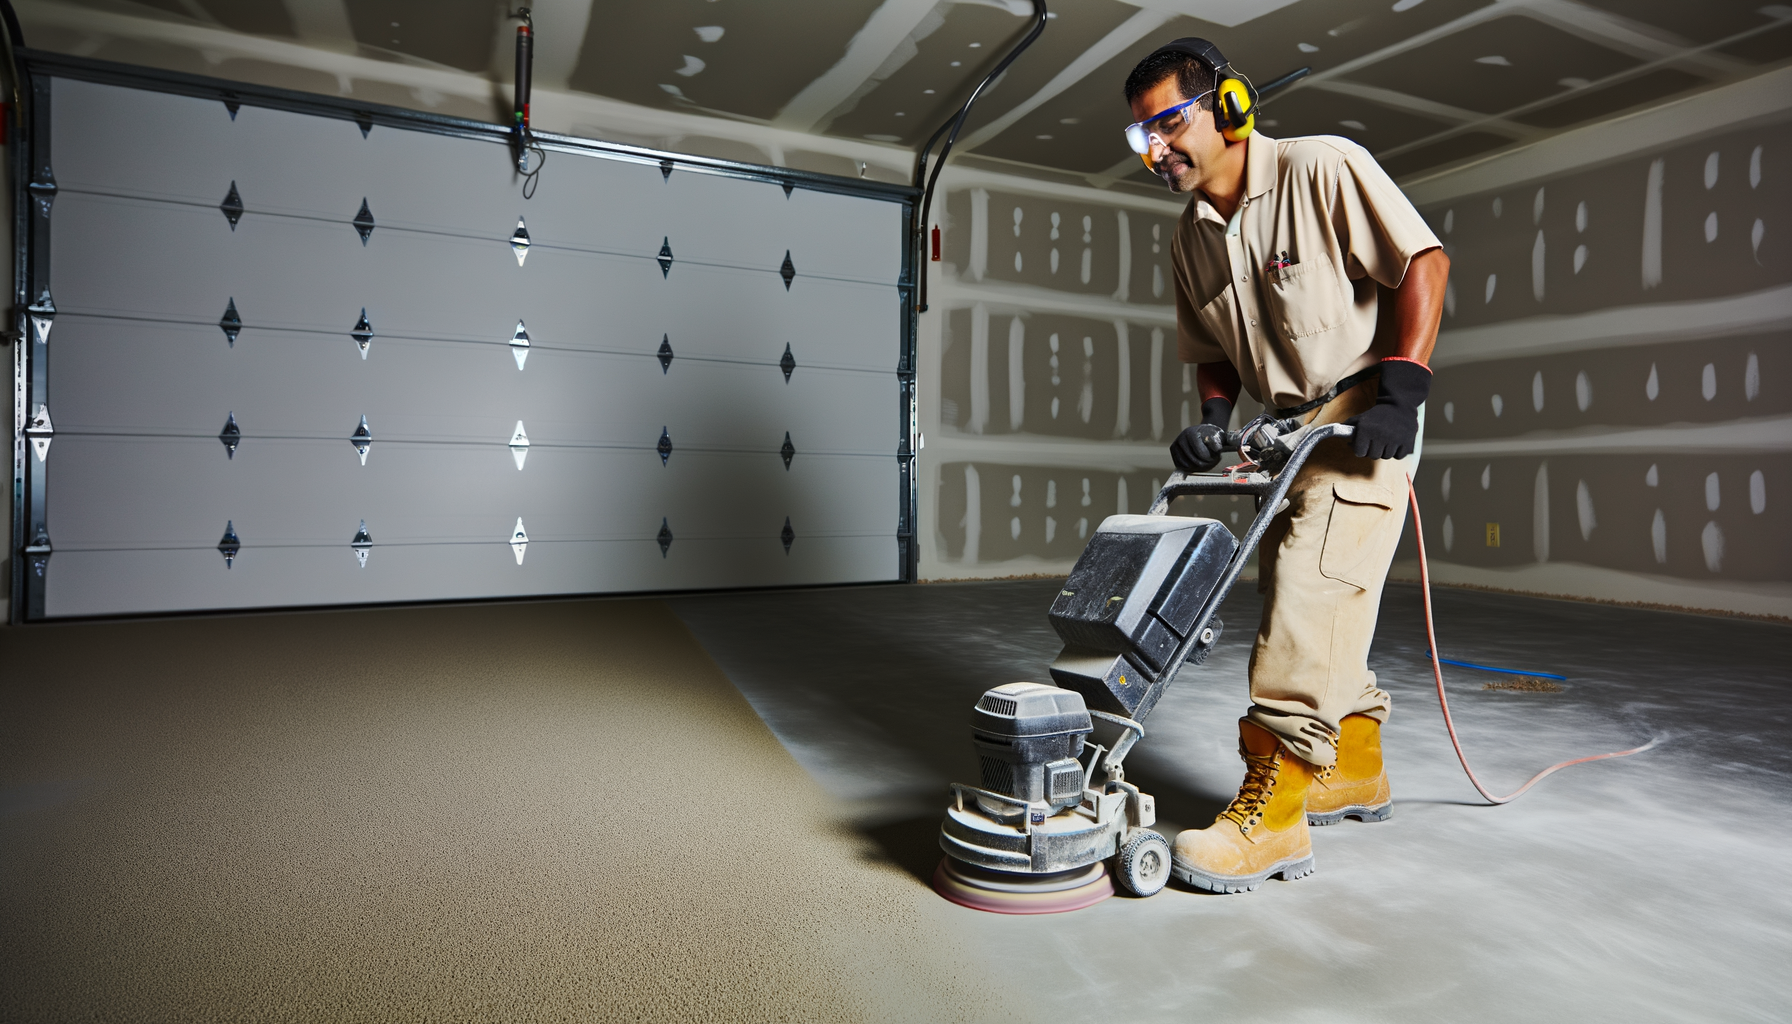
Diamond grinding concrete floor surface for epoxy preparation
1

Diamond Grinding

We use professional-grade diamond grinding equipment to mechanically abrade the concrete surface. This creates an optimal concrete surface profile (CSP 3-4), which is the industry standard for maximum epoxy adhesion. Grinding also removes any old coatings, paint, or sealers and opens the concrete pores so the epoxy can bond at a molecular level. This is the single most important step in the entire process.

Repairing cracks and joints in concrete floor
2

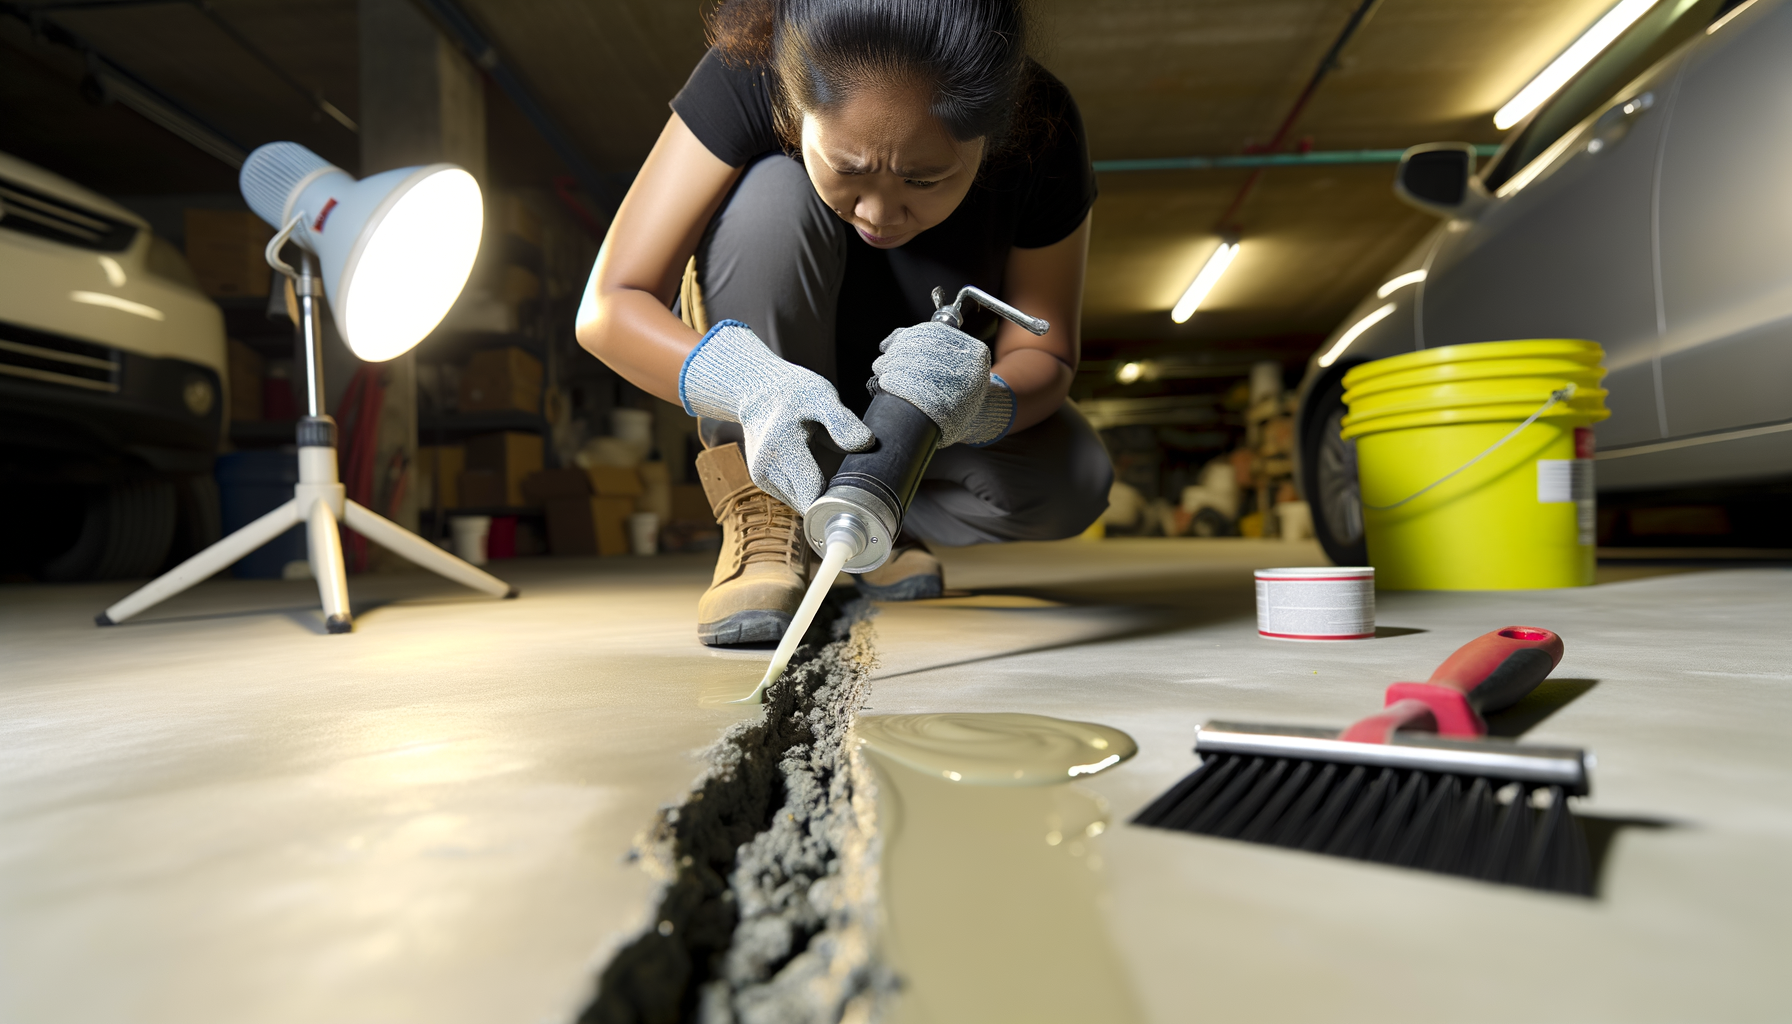
Crack & Joint Repair

After grinding, we inspect every square inch of the floor. Every crack, divot, spalling area, and expansion joint is filled with polyurea or epoxy filler and leveled smooth. This prevents cracks from telegraphing through the new coating and creates a seamless, uniform foundation. We use flexible fillers on control joints so they can still move without cracking the finish.
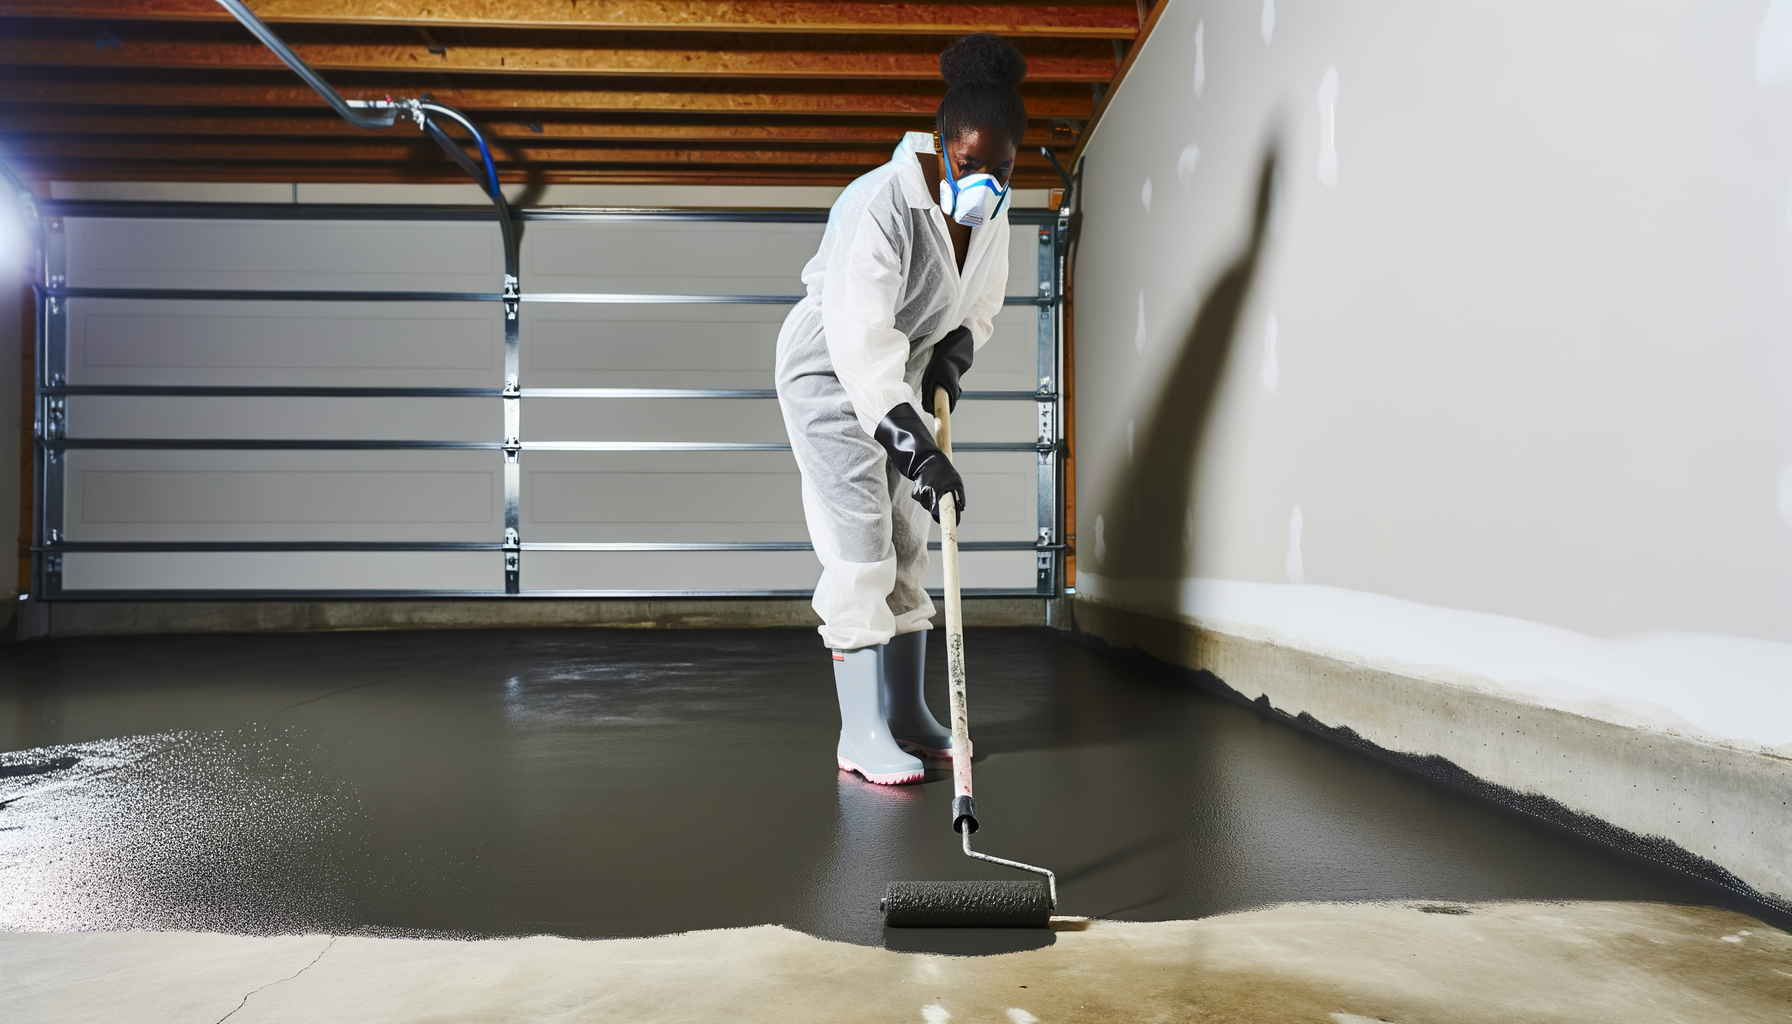
Applying 100% solids epoxy base coat to concrete floor
3

Epoxy Base Coat

We apply a 100% solids epoxy base coat — not the water-based DIY kits you find at hardware stores. 100% solids epoxy contains zero water or solvents, so every drop becomes part of the finished coating. It's applied at proper mil thickness for maximum adhesion, chemical resistance, and structural strength. This is what gives your floor its bulletproof durability.
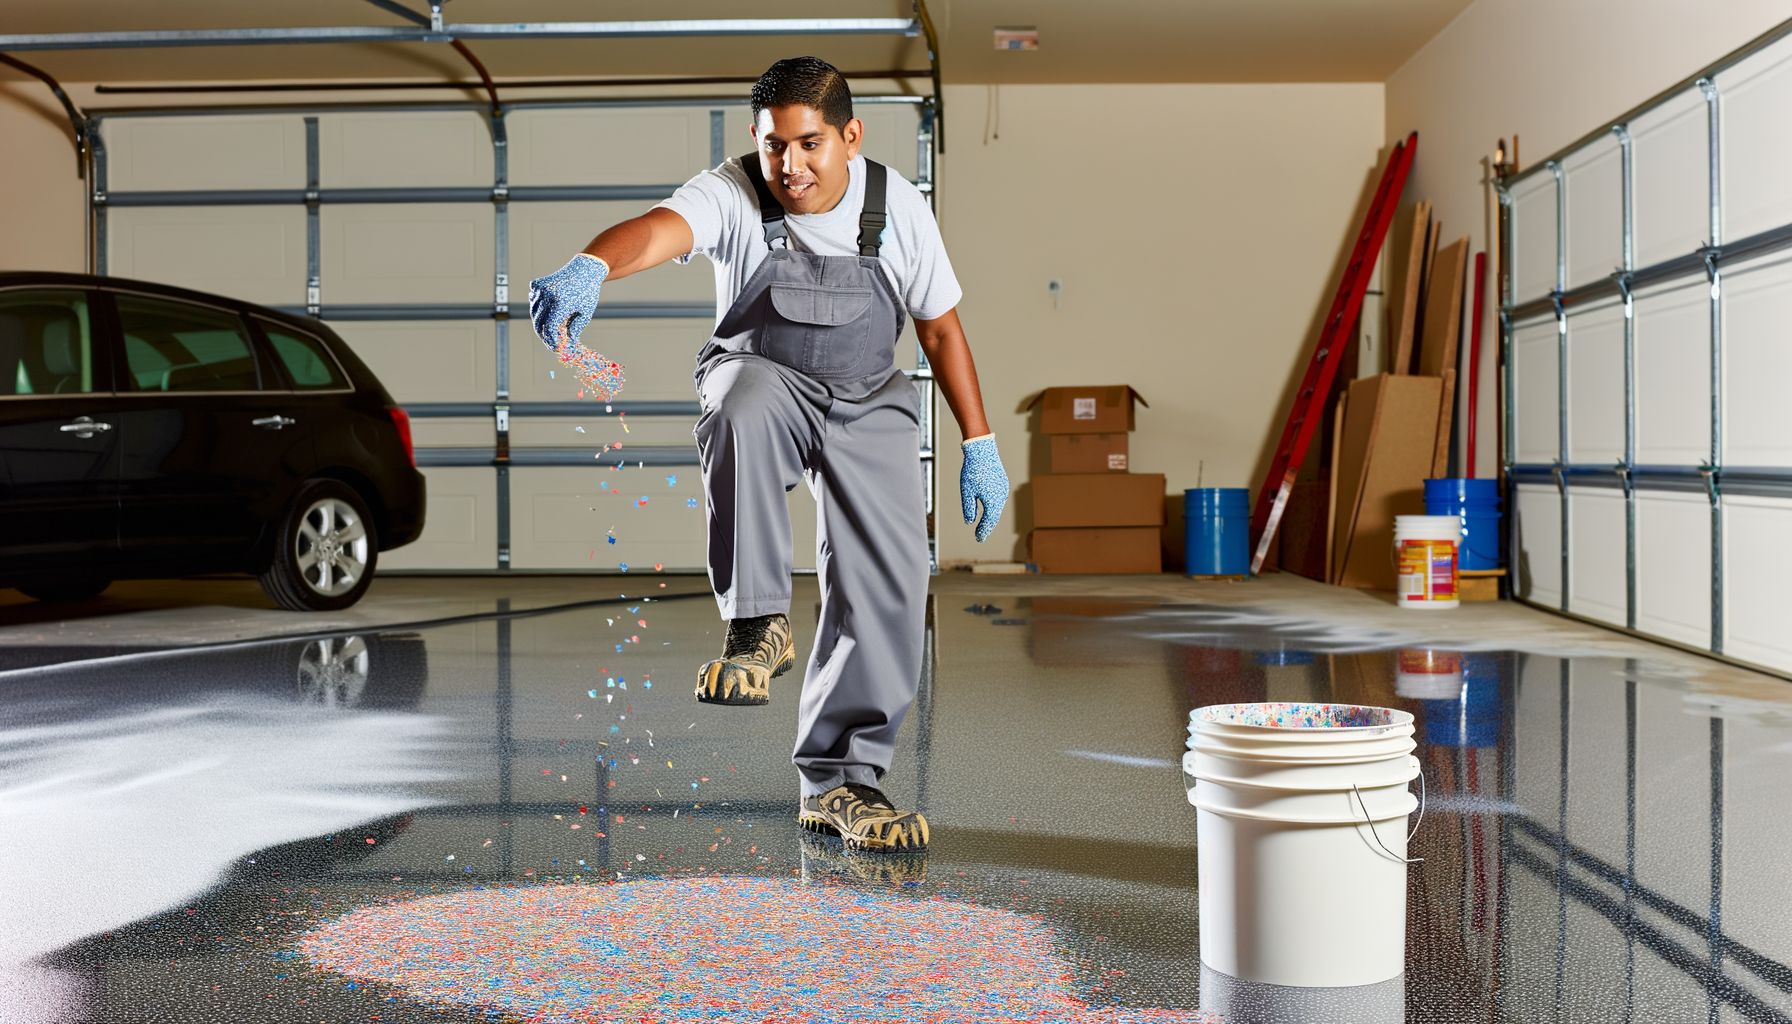
Broadcasting decorative vinyl flakes into wet epoxy
4

Flake Broadcast

While the epoxy base coat is still wet, we broadcast decorative vinyl flakes into the surface. You choose from dozens of color blends — from subtle earth tones to bold granite-like patterns. The flakes add visual depth and texture, hide minor imperfections, and provide natural slip resistance. We broadcast to full or partial coverage depending on your preference.
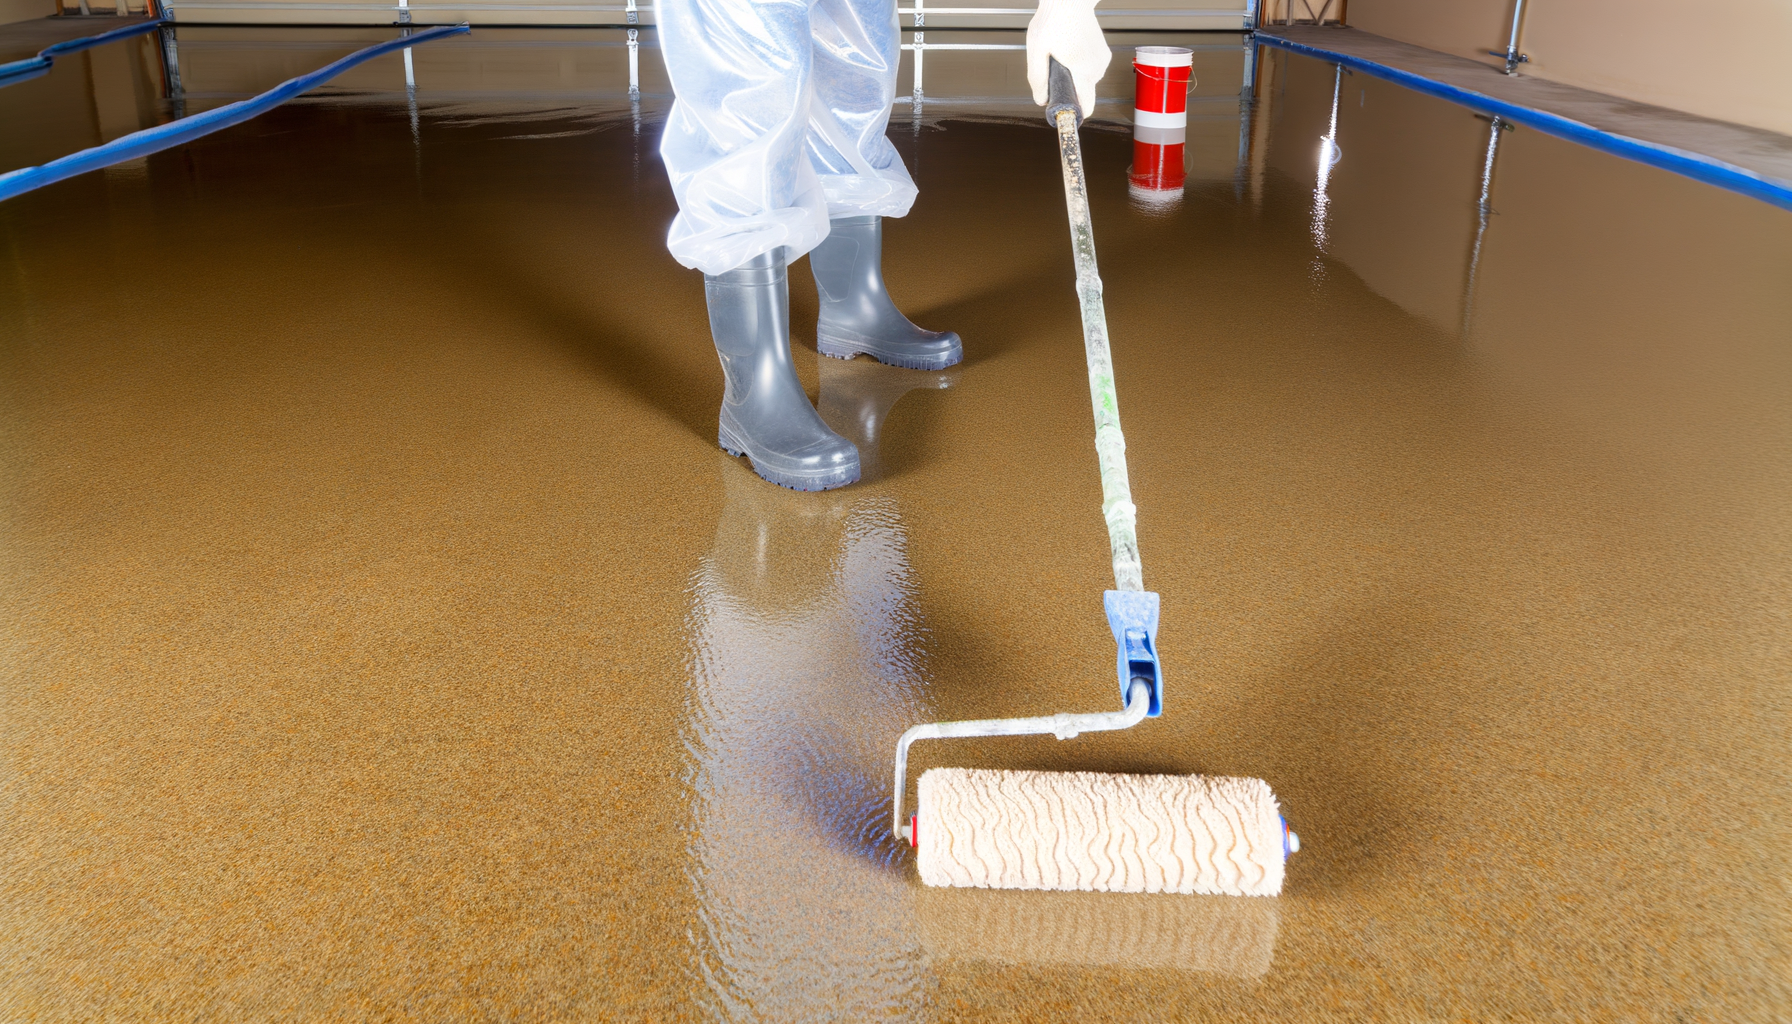
Applying UV-stable polyaspartic clear top coat
5

Clear Top Coat

Once the flake layer has cured, we apply a UV-stable polyaspartic or polyurethane clear coat. This seals everything together, locks in the flakes, and provides the glossy (or satin) finish. The clear coat is what gives your floor its abrasion resistance, UV protection against yellowing, and that showroom-quality shine that lasts for decades.
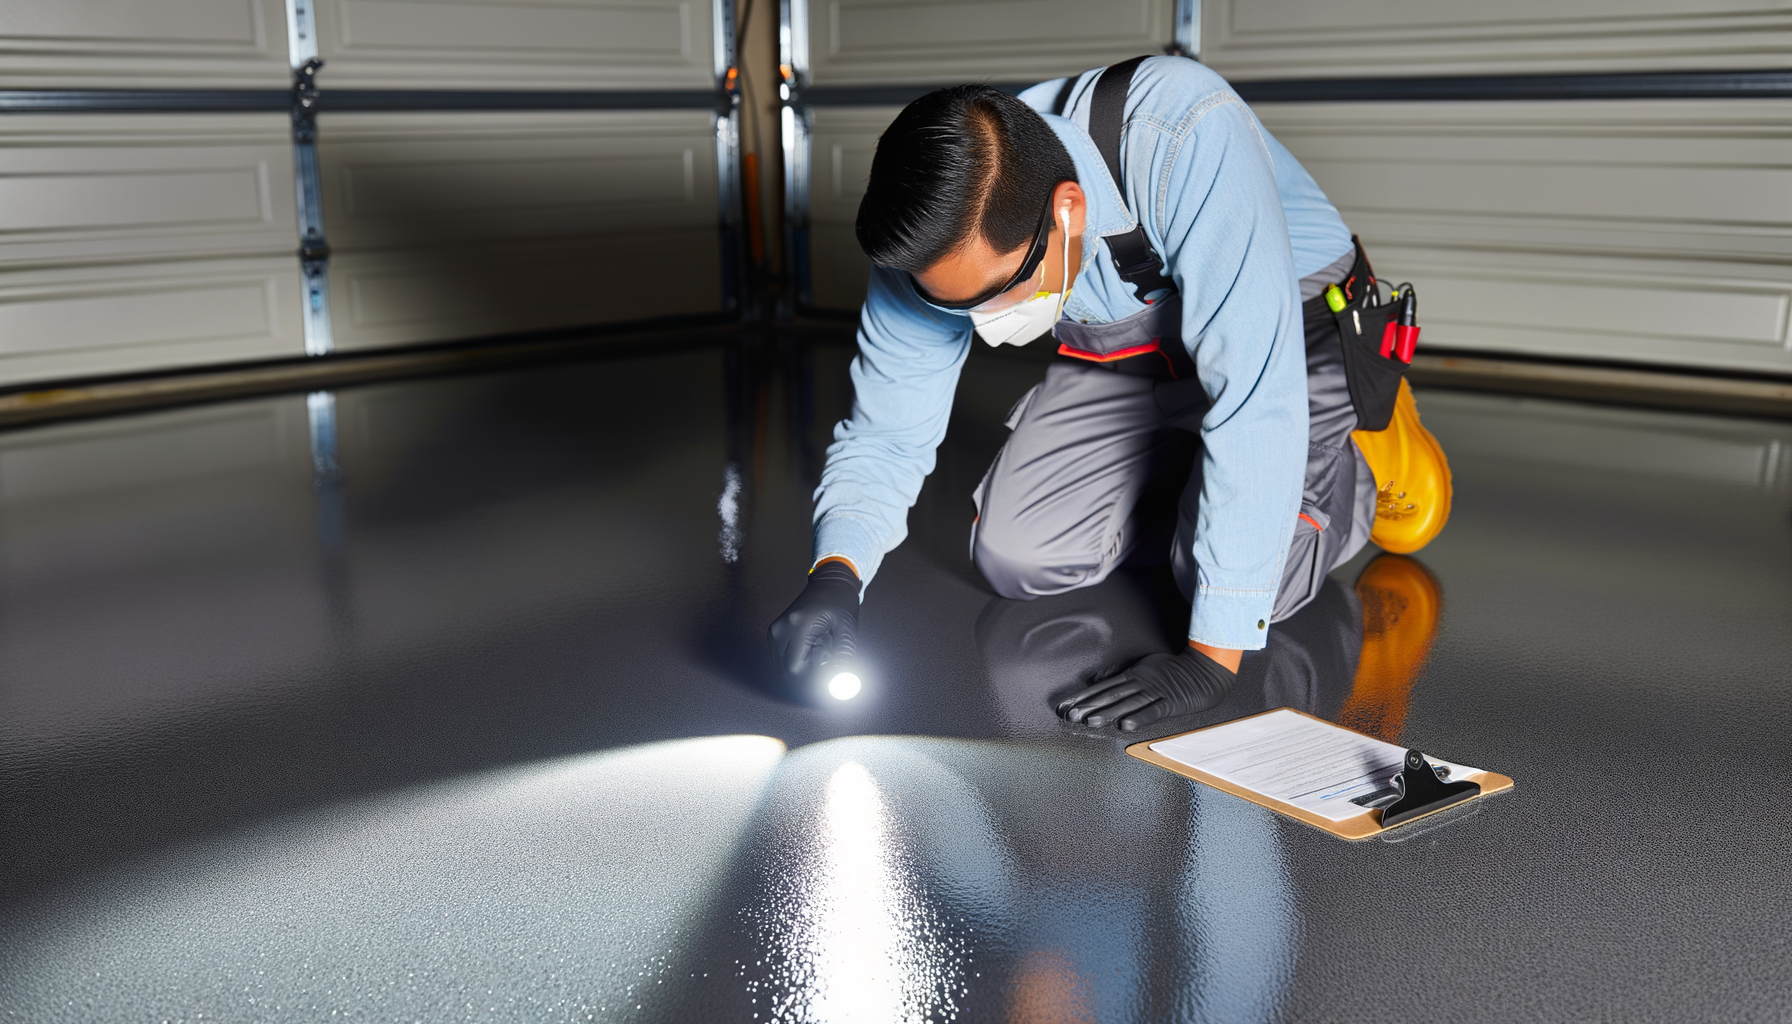
Final inspection of completed epoxy floor
6

Final Inspection

Before we consider the job done, we walk the entire floor with you. We inspect every corner, edge, and transition for quality and consistency. We discuss cure times, when you can resume foot traffic and parking, and provide care instructions to keep your floor looking brand new. Your satisfaction is the final checkbox on our list.

Professional diamond grinding for concrete surface preparation

Why Proper Prep Matters

Industry data shows that 80% of epoxy flooring failures come from poor surface preparation. Not the epoxy itself — the prep. When a garage floor coating peels, flakes, or delaminates within a year, it's almost always because someone skipped or rushed the grinding step.

That's why we invest in professional diamond grinding equipment — not acid etching, not pressure washing, not a quick scuff with a sander. Diamond grinding creates a consistent, measurable surface profile that gives epoxy the mechanical grip it needs to bond permanently to concrete.

We also never skip the moisture test. Concrete that looks dry on the surface can have moisture vapor migrating from below, which will push the epoxy right off the floor. If we detect a moisture issue, we address it before coating — because doing it right the first time is always cheaper than doing it twice.

  • Professional diamond grinding, not acid etching
  • Concrete surface profile (CSP) 3-4 verified
  • Moisture testing before every application
  • All old coatings, paint, and sealers removed completely

What to Expect

We respect your time. Here's a realistic timeline so you can plan ahead.

Installation

A standard 2-3 car garage is typically completed in 1-2 days. Larger commercial spaces vary depending on square footage and complexity. We'll give you an exact timeline during your free estimate.

24 Hours

After completion, you can walk on the floor with light foot traffic within 24 hours. Wear clean, soft-soled shoes and avoid dragging anything across the surface during this initial cure.

72 Hours

After 72 hours the floor is ready for full use — furniture, foot traffic, and normal daily activity. The coating has reached its functional cure at this point.

7 Days

Wait 7 full days before parking vehicles on the floor. This allows the epoxy to reach its full chemical cure, ensuring hot tire pickup resistance and maximum hardness.

Ready to See What Your Floor Could Look Like?

Get a free, no-obligation quote for your epoxy flooring project. We'll walk you through every step of the process.